The smallest configuration is an ES-Micro-3 which consists of three inverters and the necessary number of 12 panels.
FEATURES
- 5 kWp solar power (with 420W panels, can be less with used panels)
- suitable for a yearly demand of 2.000 – 4.000 kWh
- needs grid to produce energy
- you can expect up to 6 Mwh / a
- Surplus energy will go into the grid or can be dynamically kept within limits if an energy counter is installed which helps to control the inverter outputs.
Economical Aspects
Your financial investment is around 2.200€. The installation can be done by two people in two days. You will probably use 25-30% of the produced energy. Depending on the prices of your energy provider you can expect an ROI below 4 years.
ES-Micro components (1500€)
[PANELS] 12 panels (600€)
see our guidelines on selecting solar panels

[INV] 3 Hoymiles HMS 1800-T4 (3 x 200€)
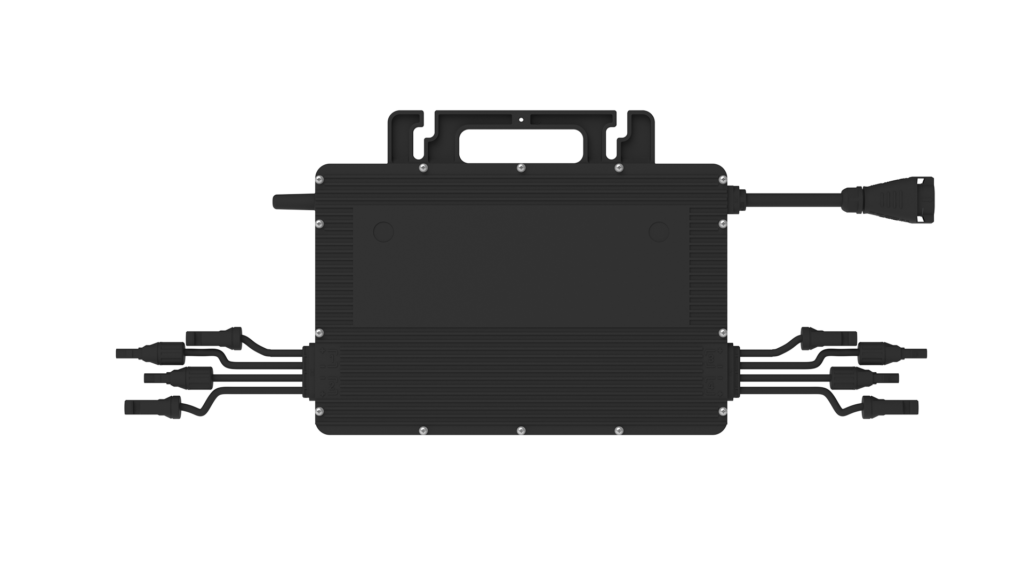
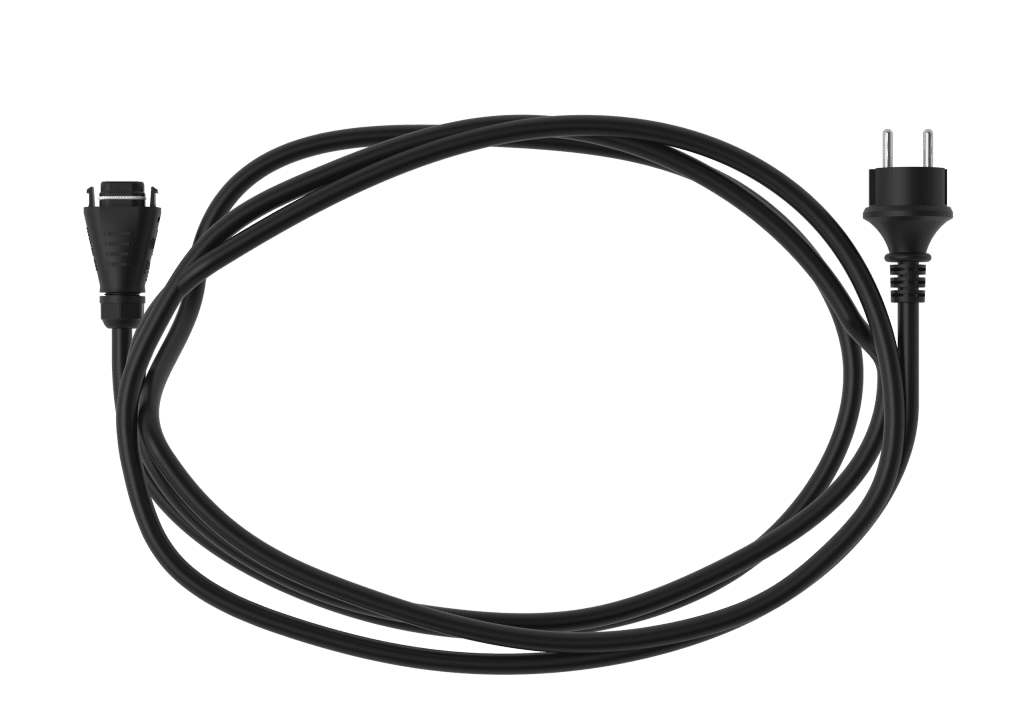
plus 3 HMS cables (5m) (3×15€)
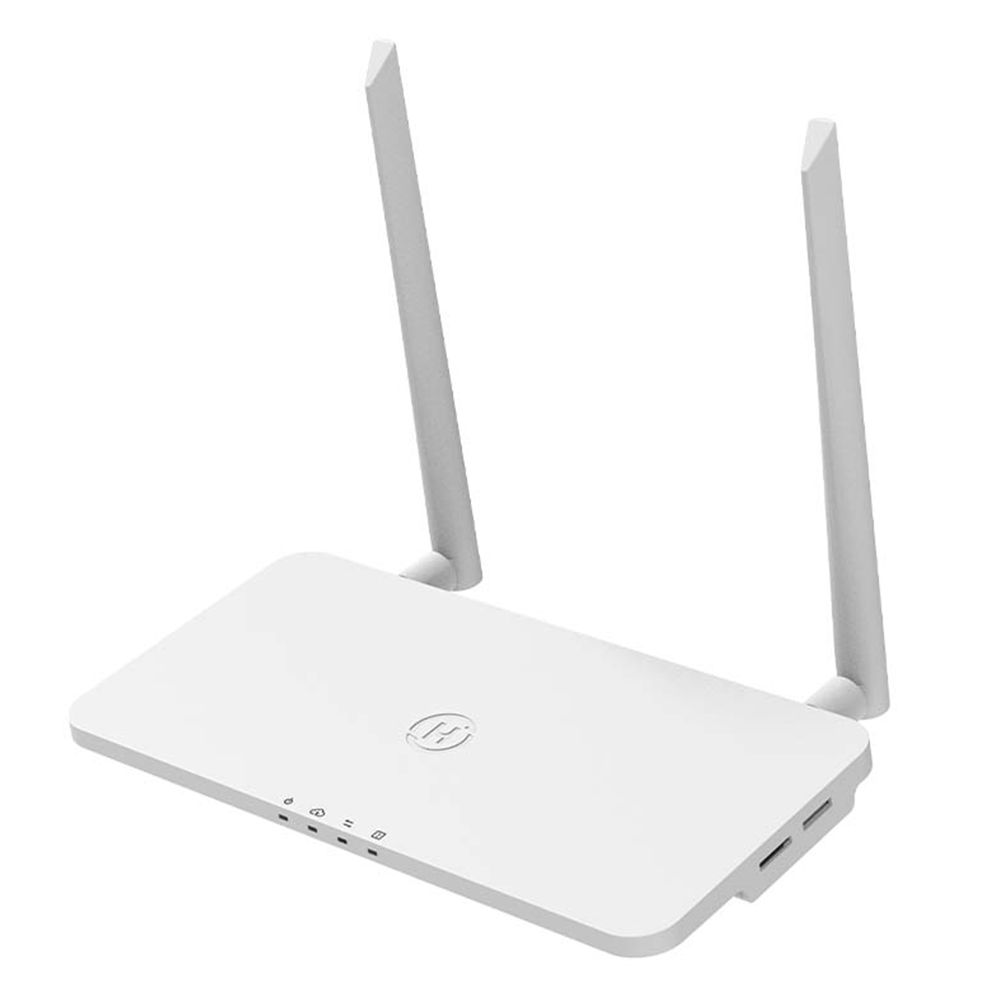
[DTU] 1 hoymiles dtu pro s gateway (160€)
provides access to hoymiles s-miles cloud and can control energy production of the inverters; must be connected to your local network via RJE45 cable
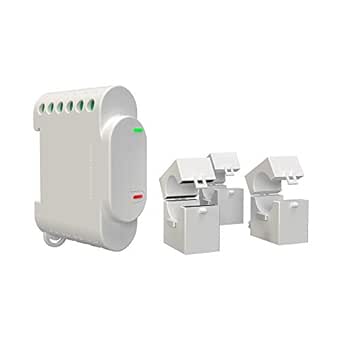
[3EM] optional: shelly-3EM (50€)
three phase energy meter with WIFI communication
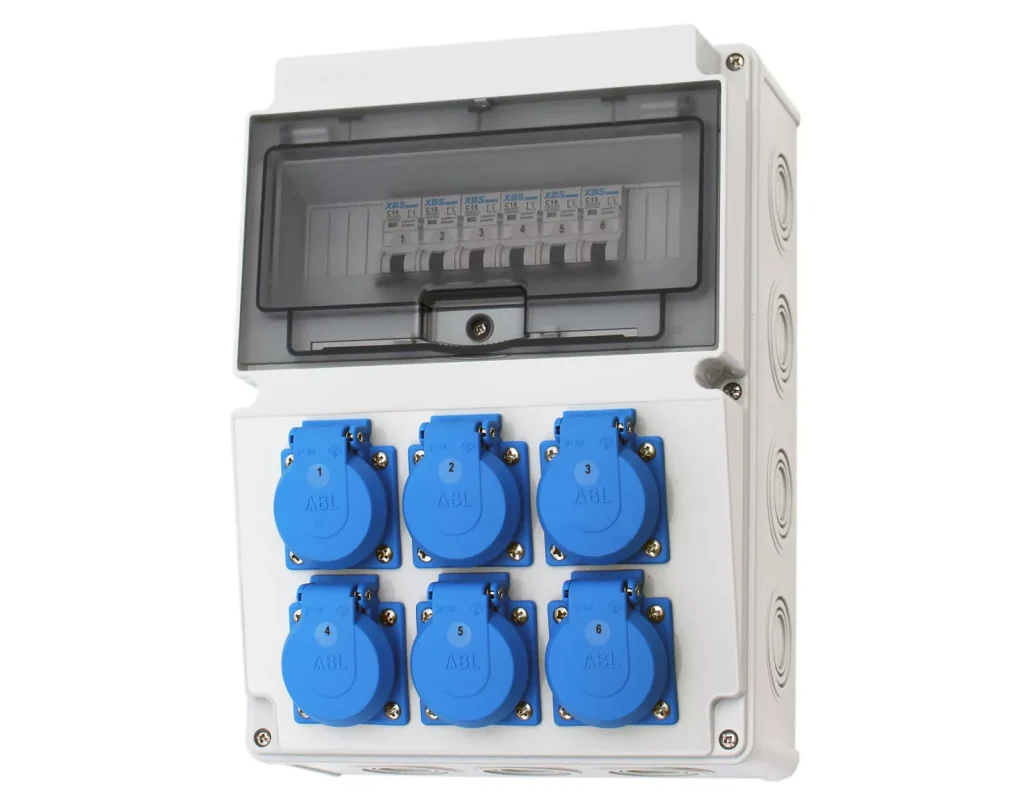
[CSSB] construction site switch box (70€)
A device to connect the three inverters to your local power grid. It has three pairs of AC-220 sockets, each of them connected to a different phase. On its input side it has a 380V screw terminal or a 380V plug with a short cable.
Additional material which you need to buy (500€)
5 thread cable 220V/380V / 16A
material for mounting the panels (~ 12 x 40€)
Optional things you need depending on your circumstances (< 100€)
- power socket (AC 380) – if you took the CSSB with AC 380 plug
- DC cable (4 mm²) and MC4 connectors, crimping pliers (tool)
- WIFI-LAN bridge, short LAN cable
Servers you will use during operations (free of charge)
- [MON-SERV] monitoring server
This is the monitoring platform server run by Hoymiles. Access is free of charge. When buying your ES-Micro system you will receive your personal access key for this platform. You can install an App on your mobile device which keeps track of your solar production. Browser access is also possible.
You can see the performance of each panel individually.
LOCATIONS you need to prepare
[LOC-PANELS] location(s) for panels
A roof or a suitable surface on ground with good exposure to sunlight.
See our guidelines for panel mounting
[LOC-INV] locations for inverters
Each inverter wil have to sit close to a group of four panels; its case is weather proof. Typically an inverter is mounted near the backside of the panels. It is of advantage to use an attachment point near the center where the panels touch. Technically it would be possible to place the three inverters at a central place, but for an average distance of 8m you would need cables with a total length of ~ 200 meters.
[LOC-CSSB] location for the construction site switch box (AC 220)
a central place within a distance of 5-10m from each inverter, should be weather protected, ideally inside a building. The length of the AC cables you order together with the inverters must be sufficient to reach up to that place.
[LOC-DTU] location for the monitoring access point
a central place within a distance of 5-10m from each inverter, must be weather protected, inside a building; this could be the same place you have chosen for the CSSB. But it can also be up to 10 meters away, maybe next to your web router so that you can connect it easily via a LAN cable to the router.
[LOC-CP-380] location of 380V connection point
This is a point in your local power grid where you can connect an AC cable to all three phases; it could be the place where your oven is already connected. It can also be your fuse box.
THINGS TO ORGANIZE AND BUILD YOURSELF
mount the panels
see our instructions on panel mounting
connect the panels to the inverters
groups of four panels must be connected to the MC4 sockets of each inverter. The cables of the panels will be long enough to reach the MC4 sockets of the inverter if you have chosen a suitable position for each inverter.
If this does not work for some reason you need to extend the cables; see our guide on building MC4 cables.
connect the inverters to the CCSB
Each inverter has an AC-220 cable. When ordering the inverters you will have some options to select the appropriate cable length (3m, 5m, 10m) depending on your LOC-CSSB. Connect the plugs of your inverters to the sockets of the CSSB. Make sure to use sockets with different phases unless you definitely want an uneven distribution of solar power because you know that your demand is unbalanced regarding the three phases of your power grid.
install an AC 380 Volt socket next to the AC connection box or
use the screw terminals to connect the cable AC 380
See our guidelines on working with AC connections
You draw a cable (5 cores, at least 2.5 mm²) from an existing 380V device (typically your oven) to the AC connection box.
https://www.amazon.de/Kopp-101600002-CEE-Wandsteckdose-5-polig/dp/B0029M5E1C
https://www.amazon.de/Faber-Kabel-Mantelleitung-Elektrokabel-NYM-J/dp/B083SRT6LT
There is no risk of creating overload because the inverters will feed energy into the cable up to your oven. Therefore the cable from the oven to the fuse box will only have to carry the load difference between the inverters and the oven.
If you do not have a 380V device in your home, you will have to draw the cable from your fuse box to the AC connection box. Make sure that you connect each phase behind a different existing fuse. The three fuses must be chosen in a way that your cable will take current from each of the three AC phases. See our guidelines on making changes to the fuse box.
install and connect the DTU
Connect the DTU to 220V AC and to a LAN cable and make sure its antenna signal can reach the inverters.
If you do not have a LAN cable near the place of the MON-AP you must install a repeater [WIFI-RPT] next to the MON-AP which integrates into your own wifi and offers a LAN socket. Together with a short LAN cable this will cost you ~20€. For example see
https://www.amazon.de/TP-Link-TL-WA850RE-Verst%C3%A4rker-Ethernet-Port-abschaltbar/dp/B00A0VCJPI/ref=sr_1_1
install the monitoring app
via Google play store or Apple store
SCHEMATIC DIAGRAM
All items in green color belong to ES-Micro.
All items in blue color are in your responsibility.
               DC
PANELS 1.. 4 ===> INV A  -----+
PANELS 5.. 8 ===> INV B  ----+|
PANELS 9..12 ===> INV C  ---+||
                    ::       |||
            propr.  ::       ||| 3 x AC-220 cable
            protocol::       |||
                    ::       |||
           DTU: : : ::      CSSB with AC-380 plug LAN cable |   |             ||| AC-380 socket          |   |             |||
    WIFI-RPT  |             |||
(1)  .        | (or 2)      |||
your .        | your        |||
WIFI .        | LAN         |||
     .        |             ||| AC-380 cable
   WIFI-AP    |             |||
         |    |             |||
         ROUTER         oven or fuse box
            |
         internet . . . . . . . .
            |                   .
            |                   .
        MON-SERV         your mobile device
                         with the S-Miles
                         APP installed
ES-Micro : larger systems
You can use 6 inverters and 24 panels or maybe even 9 inverters and 36 panels (15 kWp).
In the latter case you would need a larger construction site switch box and a thicker AC 380 cable. But basically everything is as described above.
Usually you will not be able to consume all energy while it is being produced. If you do not get paid well (or at all) for feeding your surplus energy into the grid, the economic side of such a system will look rather bad. Adding a battery of 10kWh or 15kWh will make your investment bigger but it allows you to use much more of the energy your system produces.
The following is a link to a German website which gives in depth information on cost and benefits of solar batteries: https://www.verbraucherzentrale.de/wissen/energie/erneuerbare-energien/lohnen-sich-batteriespeicher-fuer-photovoltaikanlagen-24589
ES-Micro: Reasonable Configurations
As a rule of thumb we see four ES-Micro system configurations that make sense:
- ES-Micro-3 (no battery, assuming your grid is stable)
- ES-Micro-4-5-EM (four inverters, battery, emergency power)
- ES-Micro-6-10 (six inverters, battery, assuming your grid is stable)
- ES-Micro-7-10-EM (seven inverters, battery, emergency power)
Usually it will be better to switch to ES-Hybrid systems if you plan to have more than 10 kWp.
An ES-Micro-7-10-EM system will cost roughly the same as an ES-Hybrid-10-10 (all Hybrid systems have emergency power). The cabling will need a little bit more effort for the ES-Micro system, battery losses are little bit higher but you deal only with low DC voltages.
If you are allowed to feed all your surplus energy into the grid and if your grid is sometimes unstable an ES-Micro-7-10-EM will probably be a good choice for you.
If you would have to installl an energy meter because you are required to control grid feeding permanently an ES-Hybrid-10-10 could be the easier solution. Except you have access to very cheap or donated low voltage batteries with a compatible BMS. In that case ES-Micro will be significantly cheaper.
A strong argument in favor of an ES-Micro solution could be that you have more than two locations on your roof which are facing more than two directions. Or that you have moving shadows caused by adjacent buildings or trees. In that case the fact that each panel has its own power point tracker in an ES-Micro system would lead to greater efficiency.
You see: taking the right choice will depend a lot on your circumstances.