The ES-Monitor is a network device which connects to the components of your Easy Solar system on one hand and to a device with internet access on the other hand.
The easiest way to do this is a LAN cable between the ES-Monitor and your internet router (OPTION A). If this is not feasable you will have to install a WIFI-to-LAN bridge (OPTION B). Then you draw a short LAN cable from that wireless client to the ES-Monitor.
The diagram shows both options.
              the internet ------ servers ( Growatt, Hoymiles
                     |                     Easy Solar, others )
                     |
             your internet provider
                     |
                     |
  your internet connecting device (router)
     |                               ;;
     |                               ;; your local WIFI
     |                               ;;
     | LAN cable              WIFI-to-LAN bridge
     |                                |
     |                      LAN cable |
     |                                |
     +--------------+   +-------------+
        OPTION (A)  |   |  OPTION (B)
                    |   |
                 ES-Monitor
                ::   ::   ::
                ::   ::   ::   ES WIFI
                ::   ::   ::
            ES-Micro inverters
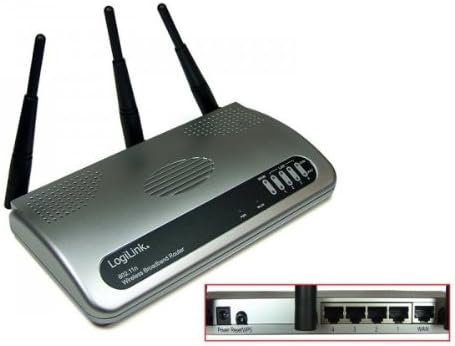
WIFI-to_LAN bridge
Search the web for “WIFI LAN adapter”, “wireless LAN bridge” or something similar. It should cost you not more than 25€, maybe even omly 10€.
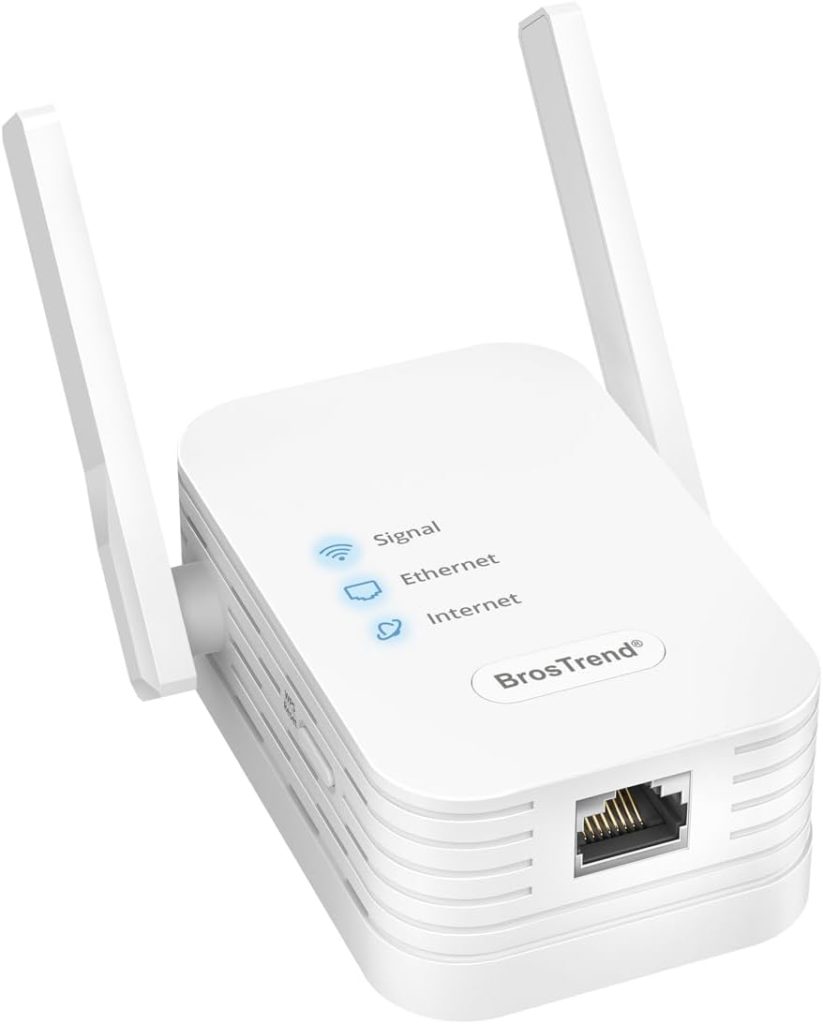
ES-Monitor hardware
The web shops familiar with ES products will sell you a preconfigured device which is called LogiLink WL0028A. In principle this device could work as a full blown internet router itself. But we use it as an Wifi access point only.
You connect your LAN cable to the socket with number “1”.
The device comes with an IP-address set to 192.168.0.233.
If this IP address should not be available in your LAN you must change it as follows:
- disconnect the LAN cable from the ES-Monitor
- switch power off and on again, wait 15 seconds
- go the the WIFI dialog in your mobile phone or in your PC
- look for a WIFI device with a name like easy-solar-xxxxxxxxxx and connect to it
- the user name is admin
- the password is the sequence of digits and letters which you find on the bottom side of the device; If you see there something like
WL0028A 01AB23CD45, then 01AB23CD45 will be the password - once you are connected open a browser and type http://192.168.1.2
- select “general settings”
- select “LAN”
- In the first field (“labelled IP address”) enter a free IP address of your LAN; if you have no idea what is meant by “free IP address” open the settings of your internet router. There you will also find the base address of your LAN, which may be something like 192.168.xx with “xx” being a number between 0 and 255. It could also look differently, however. Check all devices shown in the router and select a number which is not yet used, e.g. “192.168.172.44”
- It should not be necessary to change any other settings.
- Click “apply” and confirm to restart the ES-Monitor.
- Now plug in the LAN cable
- Disconnect your PC or mobile devive from the “easy-solar-xxxxxx”.
- Connect to your personal LAN or WIFI
- open a browser and enter the addresse which you had selected
- You should see the configuration dialog of the ES-Monitor
- If you have your inverters installed and if their paeks have sumlight you should see them in the list of “connected devicesunder “StatusInfo”